Upgrading a DNN Installation
Scenario
A customer needed their DNN installation upgraded. As the DNN installation was running as an Azure App Service, I thought it might be interesting to see if it could still be done “old school”. So, just like in the good old days, the plan of attack would be as follows:
- Scale up the App Service to a higher level
- Take a backup of the site
- Copy an app_offline.htm file to the root of the DNN installation using FTP to stop user access
- Copy the installation files from the DNN upgrade package to the DNN installation using FTP
- Trigger the install and see what happens
The Caveats
The DNN installation was running in Azure and previous experience, as even a module installation would spike CPU utilisation to 100% for a period of time and consequently stop access to the web site, indicated that it was advisable to scale up the Web App to take temporary advantage of some extra CPU and RAM. As this would only be needed for less than an hour if all went well, then the few extra dollars would be money well spent.
Remember to restart your DNN App Service prior to running the backup – especially if you are using Azure’s own backup - and before any module installation. That way, you will guarantee a viable backup and, again from bitter experience, greatly shorten the installation time for both modules and upgrade packages.
The Process
You will need some suitable client software to do the file transfer using FTP. FileZilla was used for this upgrade and you will need suitable credentials to connect. As this was an Azure standard series Web App, the deployment account was used.
So, to the nuts and bolts of the job…
Log on to your DNN installation using an admin account and restart the application. Do this from the Persona Bar by selecting Servers and then Restart Application. Restarting the application will take a few minutes.
Now connect to your Azure portal https://portal.azure.com using a suitable admin account. On the App Service blade for the Web App, scale the application up to the next size. In this case, it went from S1 to S2. Remember to scale it back down after the upgrade completes successfully or it will cost a lot of money. The upscaling process will take several minutes so be patient and allow the process to complete before proceeding further.
Now connect to your Azure portal https://portal.azure.com using a suitable admin account and not the deployment account that will be used for the upgrade. Now schedule an immediate backup from the App Service blade for the Web App. Let this complete. If you do the upgrade at a quiet time then backups are usually quite quick.
Using your FTP software, connect to your Azure Web App and upload the app_offline.htm file. This, in the best traditions of .NET and IIS, will stop the Web App from servicing user requests. Wait a minute and verify that you do indeed see the content from the app_offline.htm file instead of your website.
The app-offline.htm file is a simple html file that you can customise to suit your own purposes. Note that even if the Web App is behind a load balancer and has been marked as unavailable, it is till advisable to upload an app_offline.htm file. If you don't want to generate one yourself, there are websites that can do it for you such as app_offline generator.
Now that your DNN installation is ready for the upgrade, decompress the contents of the DNN upgrade file to a folder on your local computer. Make sure it is the upgrade package that you are using or your web.config file will be overwritten and that will not be a good thing. Use your FTP software to upload the files from the upgrade package. Reconnect to Azure if your connection has timed out after uploading the app_offline.htm file. Select the source folder and the destination folder – wwwroot in this case.
Start the file copy. Depending on your Internet connection speed, this might take a while. You will want to overwrite existing files.
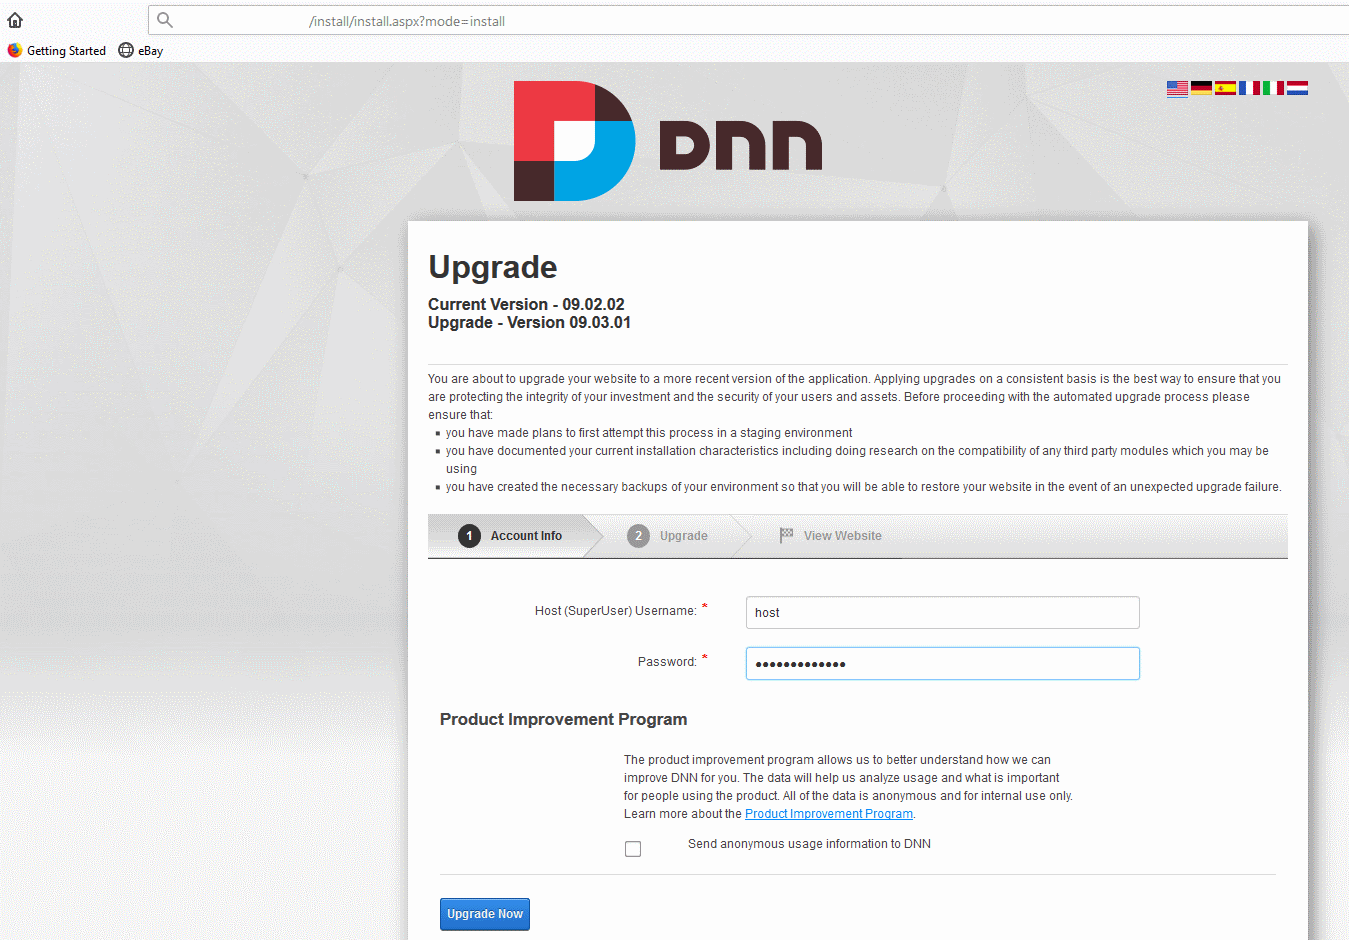
Once all the files have been uploaded, the actual upgrade can now take place. So, again using your FTP software, delete the app_offline.htm file from your Web App. For this particular version upgrade, this triggered the installation. This was somewhat unexpected as the last time I did one of these it had to be triggered by a direct call to the /install/install.aspx file. Anyway, it is what it is so enter the host details for your DNN installation as requested.
Depending on the available processing power of your App Service, the installation can take some time. Once it completes – successfully, I hope – then you will be able to access your DNN portal as normal. It is normal for the website to be slower than normal on initial start after an upgrade so give it 15 minutes before starting to worry. Log on to your DNN portal and check the logs to verify that nothing has broken as a result of the upgrade. If all is well, you can scale your Web App back down to its former level. Job done and time for a nice cup of herbal tea.